|
Adding veneer stone to you home can definitely improve its looks. Veneer stone can give your home a French country flair or give out a modern urban look, it all depends on the style of stone you chose. And the great thing about these types of stones is they are super easy to install, there are only a few tricks to keep in mind and some basic tools. What's more they can be applied to nearly every surface, making them the perfect decorative stones. 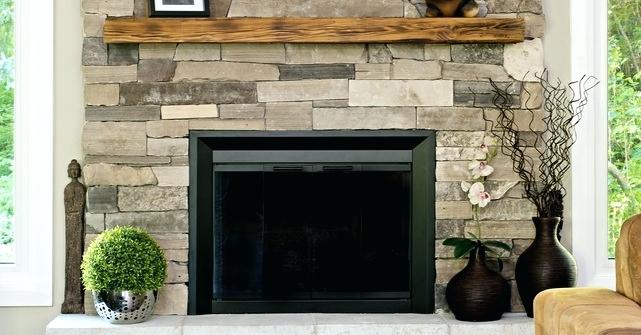 Tools
Depending on the size of your project you will need several different tools. But here we will cover only the must have tools for field stone veneer installation that you can't do your project without. Trowels you will most frequently be using them to spread the scratch coat and bond coat mortar. Grout bag is useful after you place the stones; you can use grout bags to fill in between joint placements. Brushes, you will need one set for dampening the veneer stone and one for dusting and cleaning after you are done. Rake will come in useful for hack scratching the coat step useful for hacking the scratch coat step. Joint tools for correcting and making sure your joints are properly aligned. Surface Layering First step, you want to add a layer of moisture barrier, and on top nail a cover of building paper. Each building paper should overlap at least 15 cm. Next step is to attach the metal latch barrier, use no less than 18-gauge galvanized metal; make sure that the nails are also galvanized. After your barriers are in place it's time to mix and apply the scratch coat mortar, on top of it you will be laying your fieldstone veneer and align them vertically or horizontally depending on the effect you want to achieve. Use your trowels to spread it around within the con-finds of your metal barrier which should be 12 cm thick. After that you should let it set for around 24 to 36 depending on humidity and size of the project. Install The Stone First you want to trim and shape your stones using a mason hammer to get them into the shape you want. After that clean your fieldstone veneer using your brushes, make sure that your field stone veneer is dusted before applying it. To place the stones use a towel to dampen some mortar on the side of the stone you want to be flush with the wall, make sure to use plenty of mortar. Press them down evenly until they reach the depth of your barrier which should be 12 cm. Start from the bottom up an make sure there is not more than 2 cm of space between each stone. Repeat until you've covered your desired area. Comments are closed.
|
AuthorBrian Elliot Archives
February 2018
Categories
All
|
 RSS Feed
